Once PCmover is downloaded, it can be installed and run from a remote location as a portable application from external media (like a USB flash drive) or from a remote location, such as a network drive or shared folder. By running PCmover using one of these methods, there’s no need to install it locally on each PC.
Here’s how to install PCmover remotely step by step.
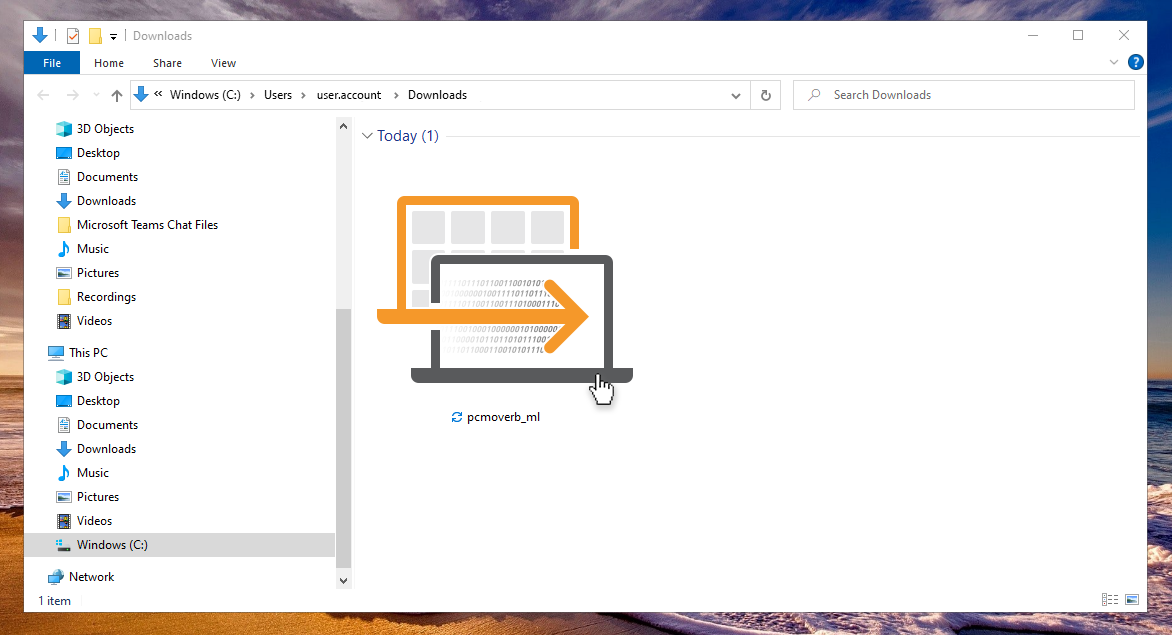
1. Double-click on the PCmover setup file in the folder where the file was saved.

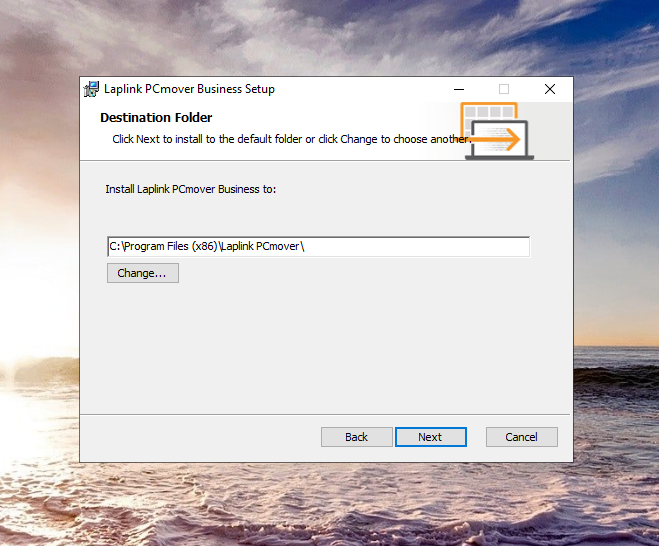
2. Now, there are two options for running PCmover from a portable or remote location:

Option 1: Install directly using a shared or portable drive
Install the application directly to the portable or remote location. Change the default install location to the desired location.
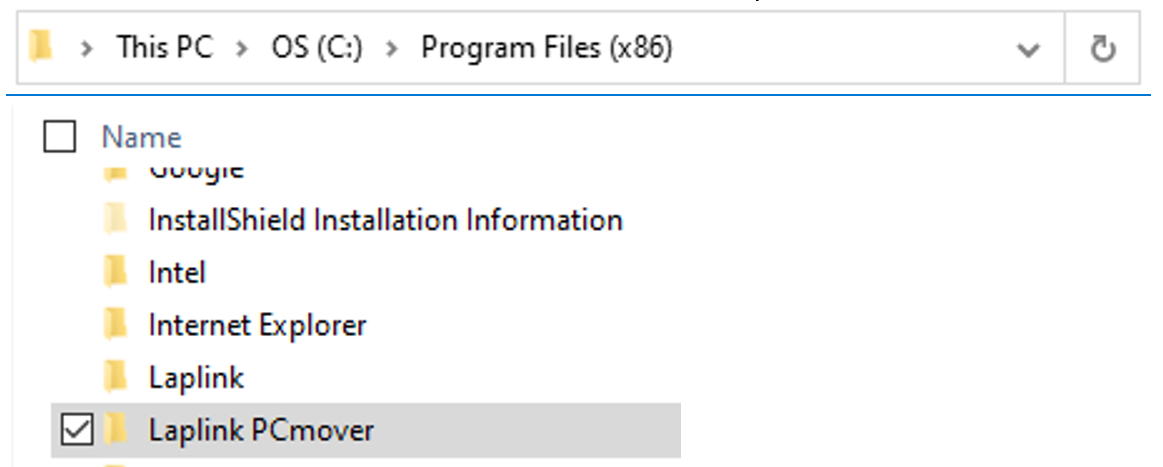
Option 2: Copy local install folder
Install the application locally. After confirming the installation is complete, copy and paste the entire “Laplink PCmover” directory to the portable or remote location it will be run from (such as a USB flash drive, network drive or shared folder).

Once the Laplink PCmover directory is in the portable/remote location, navigate to that location and double-click pcmover.exe to launch the application. If you want a user to run PCmover from a remote location, you can send the user a direct link to pcmover.exe.
-1.png?width=540&name=MicrosoftTeams-image%20(2)-1.png)
Now that PCmover is installed, discover how long it will take to transfer the data.
Need more help?
Great support is just a click away. Check out our FAQ page or chat with a friendly PCmover expert to get all the answers you need during any stage of your PC transfer. Working late? No problem. We’re here 24/7.
Add Comment