We got a great question the other day on twitter from @jethrosan and had to share it with you. He asked the following:

We sure do, it can be done with PCmover® using the “File Storage Device” migration option. So, if you are wanting to conduct an in-place upgrade of your existing PC to a CLEAN install of Windows® 7 here are the steps to complete this type of migration:
Step 1) Select “Migration”
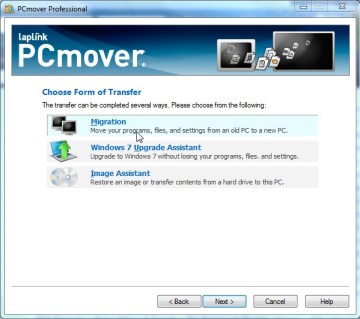
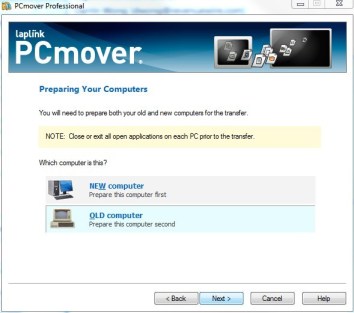
Step 2) Select “OLD computer” (Generally we suggest you start with the NEW computer, but not in this scenario!)
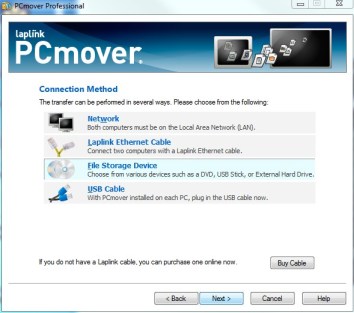
Step 3) Select “File Storage Device” and click Next
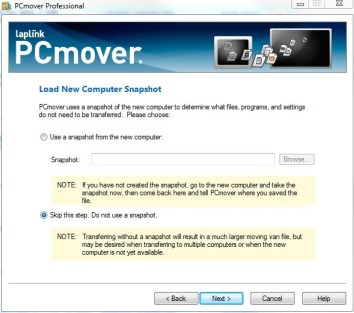
Step 4) Select “Skip this step. Do not use a snapshot.”
After you complete these steps, continue through the rest of the wizard and pack up your “moving van” to the storage device you are using. After this is complete you can install Windows 7 however you would like. After the installation of Windows 7 is complete, re-install PCmover and go through the wizard again selecting the “File Storage Device” migration. Select the folder that PCmover created on your storage device and it will then “un-pack” all of the programs, files and settings you previously selected and place it where it needs to go. Voila, you are finished! Let us know if there are any other questions and we’ll have one of our technical guys get on here and answer some questions.
Add Comment